Happy World Emoji Day, penguin family! ?? Did you know that there are over 100 different emojis on Club Penguin Island? ? To celebrate, I’ve created some penguin emoji cubes. ? And the best part? You can too! To get started, visit the webpage below and choose a template to start. You can choose to create a penguin emoji cube or create a wild emoji cube. Print out the template of your choice and follow the handy instructions on this post! ?

HOW-TO: Create your own penguin emoji cube
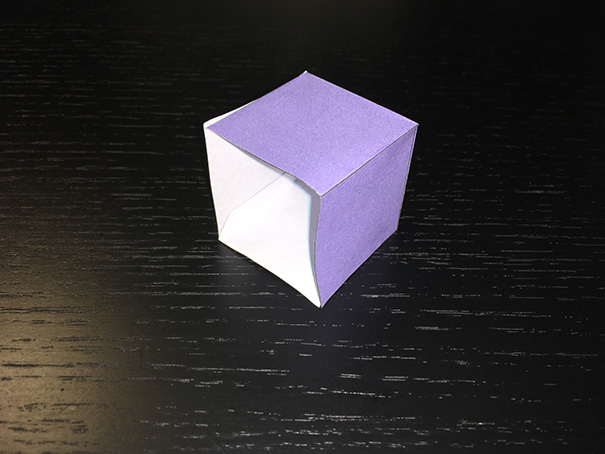
STEP 1: Print out a template
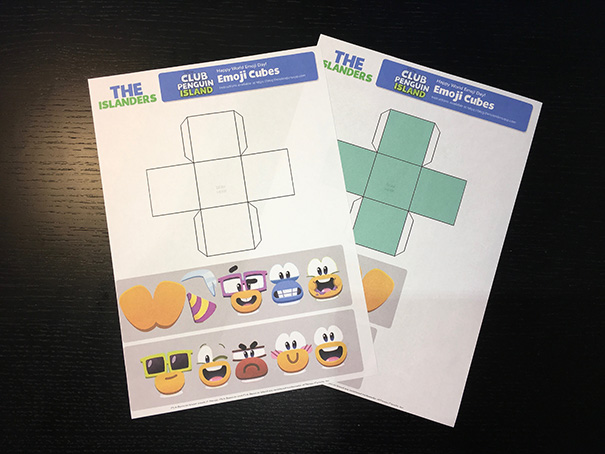 You can choose to print out a template which has already been coloured in, or print out a blank one for you to colour in yourself. There’s even image versions of each template if you’d like to add your own pattern or colour digitally. ?
If you’ve chosen to colour in your template, remember to colour in around or under the eyes for the cute smile or nerd face. There’s no need to colour in the tabs of the cube, you’ll be sticking them down! ?
STEP 2: Cut out the cube net and your chosen face and accessories
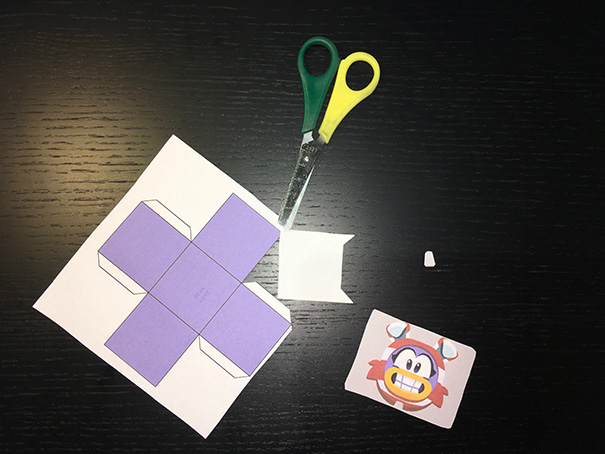 Choose the emoji face and accessories (such as a party hat, ice or even animal ears) you’d like for your emoji cube. Ask for a grown-up’s permission or help before you cut out the template – scissors are sharp! ✂⚠
Be careful not to cut off the tabs for the cube, otherwise you won’t be able to stick it together properly. Cut out around the net, emoji face and accessories carefully – remember the tiny tummy patch on the penguins! Don’t worry about chopping off whiskers, eyebrows or other fine details. They are quite difficult to cut out and you can draw them on later. ?
STEP 3: Fold your cube’s net
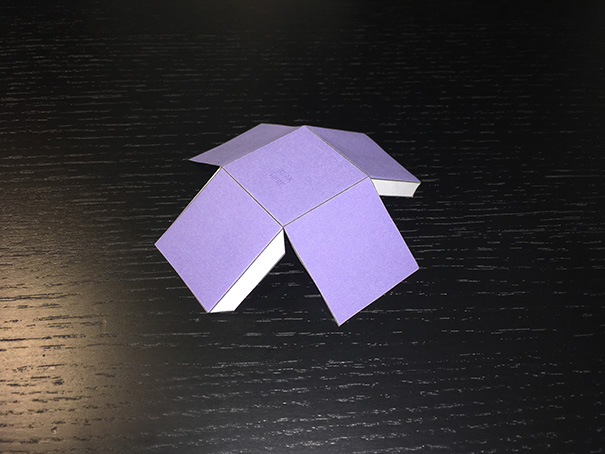 Fold along the black lines of the cube net. You might find it helpful to score your fold with your fingernail to make it neater. ?
STEP 4: Glue the cube net together
 Grab a glue stick and carefully apply glue to the tabs of your cube (which should be folded and left blank). Align the edge of the fold with the edge of the face closest to it without tabs. Press down to secure the glue. Repeat for all four tabs.
You’ll notice that on the front it will say “BEAK HERE” and there is no back face. This is to make it easier for you to press down on the folds and later the emoji face and accessories. ?
STEP 5: Add the emoji face to the front of the cube
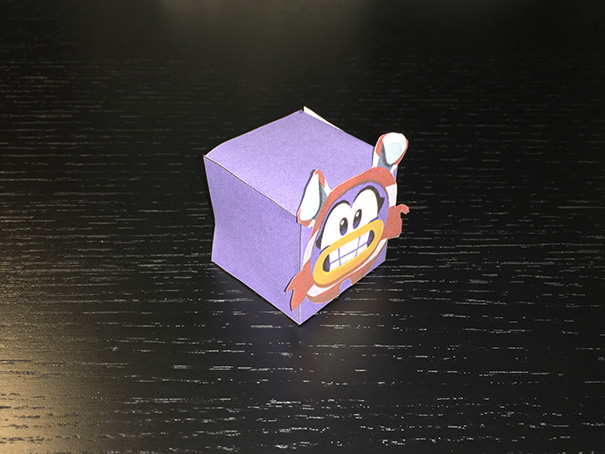 Now it’s time for the fun part! ? Take the emoji face you cut out earlier and glue it to the front face of the cube (marked by “BEAK HERE”).
You want to try get the bottom of a penguin emoji face’s tummy patch as close to the bottom of the front face as possible, and the beak should roughly align with where it says “BEAK HERE”. ?
For a wild emoji face, try to align the beak (or smile) as closely to where it says “BEAK HERE” as possible. ?
Your emoji cube is super close to being complete! It should already start to look adorable. ? … or is that just me?
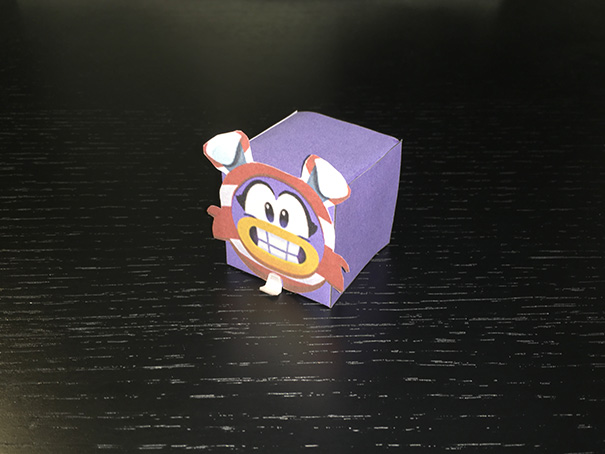
FINALLY… STEP 6: Add accessories!
 It’s time to make your penguin emoji cube totes cute. For my Megg emoji cube, all I had to add was a zip, which I had to fold slightly. ?
But for penguin emoji cubes, you’ll want to add some flippers! ? Add glue to the middle of the flippers and glue them to the bottom of the cube. Where they go is up to you, but I made them so the back of the flippers was around half-way across the bottom face of the cube.
Don’t forget to add a party hat ? or ice ❄ to your penguin emoji cube if you’d like. I’ve heard the ice is really “cool”. *ba dum tiss*
Wild emoji cubes have access to a whole range of different accessories including ears, and for squids: tentacles. ? They can be quite fiddly to add, so glue near the edge to where you’ll be sticking them on the cube. For the squid tentacles, bare in mind you’ll have to fold them a bit. ?
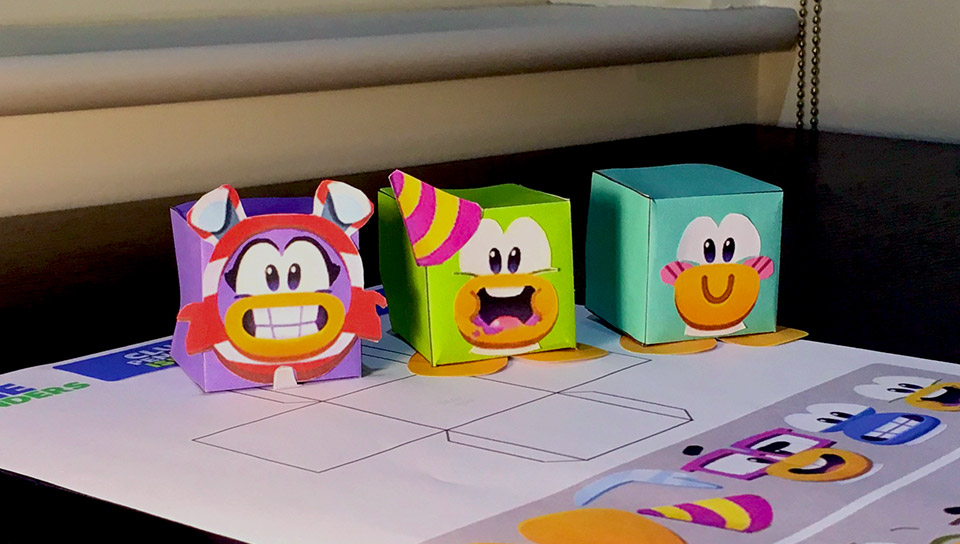
Voila! Your very own penguin emoji cube! ???
I hope you enjoyed creating a penguin emoji cube and I can’t wait to see the creations you come up with! ? Until next time, penguins ? …
